Blog, Digital Photo Editing, DSLR Cameras, golden hour, golden hour photography, Instagram, Lightroom Tutorial, Mirrorless Cameras, Mirrorless Photography, Photography, Photography Gear, Photography Tutorial
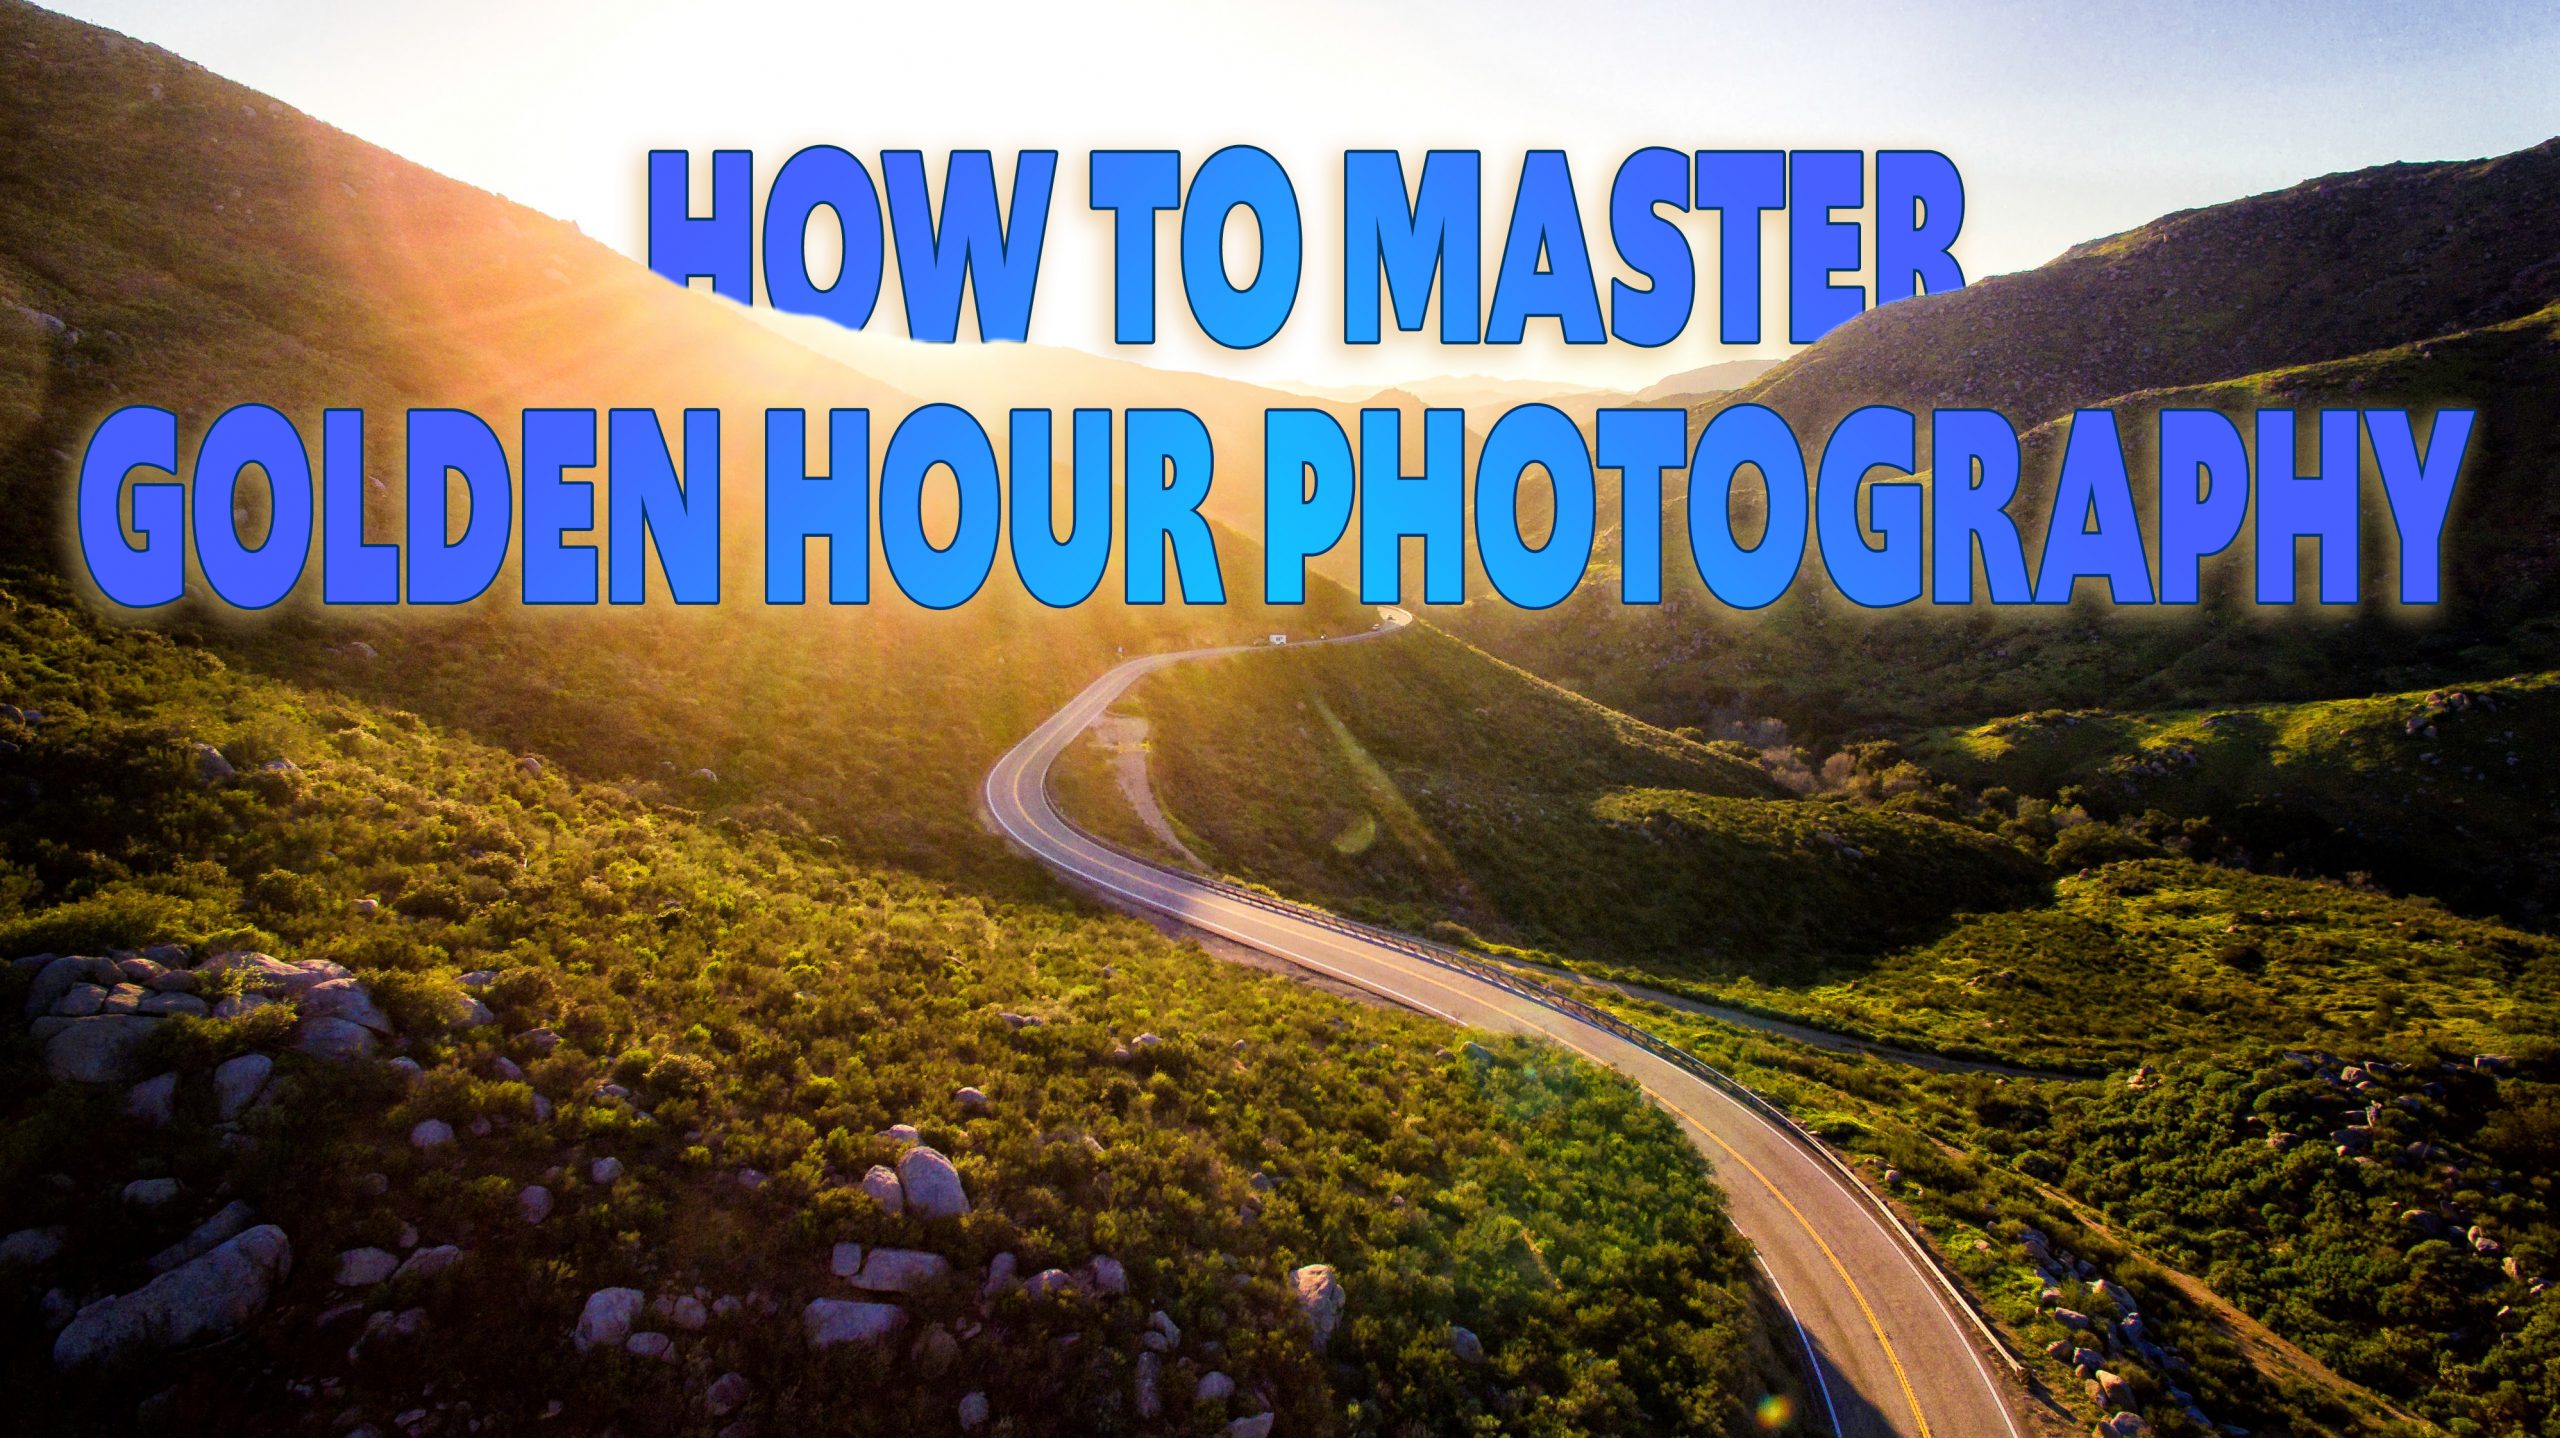
How To Master Golden Hour Photography
Mar
Choosing your lighting as a photographer is a crucial aspect of achieving the perfect composition. As a photographer, you’ve definitely heard the term “golden hour” being tossed around. This term refers to the hour just after sunrise and just before sunset. This will be the time when the sun is at an optimal position in the sky to create an even, warm glow.
Why Take Photos At Golden Hour?
If you’re a beginner photographer or someone who has developed a specific style you will most likely be shooting with natural light. Using natural light is an amazing and cheap way to get an even lighting source for all types of photography. You have to be considerate of which times you choose to shoot. Shooting at mid-day can create a very harsh light. This can blow out highlights in photos and create very dark shadows. Mid-day lighting also forces your subject to squint from the powerful direct sunlight.
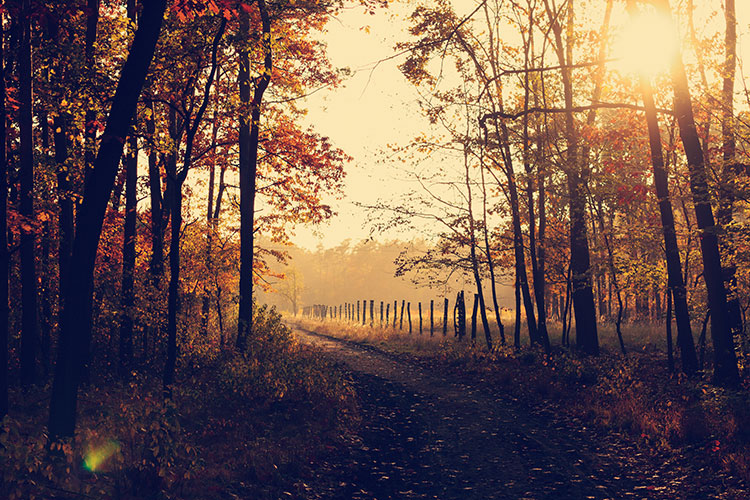
Golden hour photography creates an even, warm glow to your subject. This time of day is when the sun is sitting low in the sky and shining at an angle. The benefit of having the sun so low is that it is not directly over the top so the shadows being cast are still allowing a soft light in. This light is also warmer in color temperature, this makes correcting white balance a lot easier!

Golden Hour Timing
Timing is absolutely everything when attempting to get the perfect golden hour shot. You want to make sure to plan out the time of your shoot. As well you should inform your clients and assistant staff of your intentions of shooting during the golden hour so everyone arrives on time.
See Also:
What is the Focal Plane?
7 Common Beginner Photography Mistakes and How to Avoid Them
What are Photoshop Overlays?
Be considerate of the changing seasons and how this may affect sunrise and sunset. The golden hour might be around 6 pm in the springtime but will be different in the fall. You should also consider where you are in the world. There are numerous apps and websites which will give you the perfect time to shoot during the golden hour. You can use websites such as The Golden Hour Calculator to plug in your location and find when the golden hour is and how long it will be lasting.
How To Position Your Photo Subject
Golden hour is the perfect time for portrait photography and can offer a variety of different effects for a desirable outcome. The sun is in a low position during the golden hour which means you can have your subject face the sun. During mid-day, the sun is giving off very harsh light which will cause your subject to squint. The temperature of light also changes during the golden hour. Typically at mid-day, the sun is giving off a very bright neutral white light. During the golden hour, the lighting becomes very warm, adding that warm orange glow which gives meaning to the name “golden hour”.
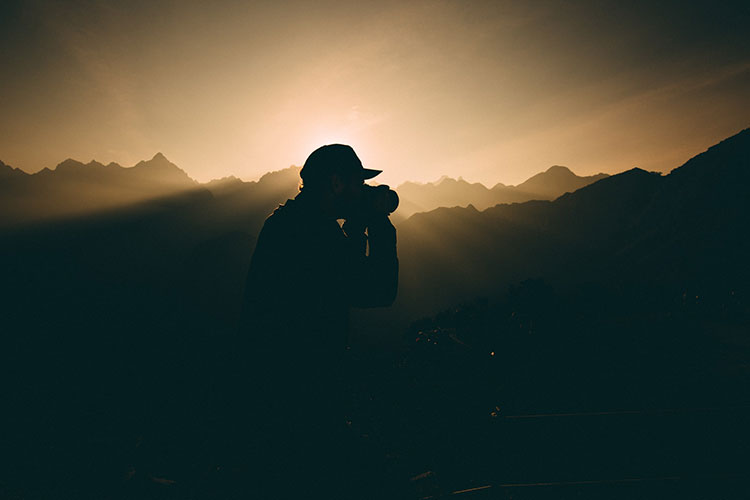
Another use for the warm, even glow from the golden hour is creating a beautiful silhouette. By positioning the subject so that the sunlight is directly behind the subject can create amazing silhouettes. The warm glow from the sun creates an even orange aura around your subject. By removing your lens hood or lens filter you can achieve solar flares in your photographs because the sun is giving an even light across the frame light streaks will appear across your sensor. Some photographers tend to take this one step further by adding filler light. Grab a reflector or external flash, with the reflector you can bounce light to fill in areas with harsh shadows, the same can be achieved by using an external flash to compensate for poorly lit areas. You can find fairly-priced reflectors and external flashes on Amazon.
Camera Settings
Camera settings are hard to determine because there are so many elements to take into account when choosing how to set exposure. Typically during the golden hour, you can shoot at a lower ISO. During the golden hour, you can even set your camera to use auto ISO then adjust your maximum ISO. Remember that the higher the ISO the more grain that will be in your final image. Don’t be fooled by what is shown in your camera’s preview mode grain can still be there even if you can’t see it so it is always good to underexpose and adjust in post-production.
Shutter speed and aperture are dependants on what it is you are shooting. If you are shooting a moving subject try starting at a minimum of 1/250 of a second, this will capture the subject while avoiding motion blur. Aperture depends on the subject. Whatever your aperture may be, always try to have a shutter speed that is about twice the value of your lenses’ focal length. For example, if you are shooting on a 50mm lens the aperture should be at least 1/100 of a second. Check out our blog on shutter speed, ISO and aperture for a more in-depth explanation.

Golden Hour Practice
Golden hour photography is an amazing tool in every professional photographer’s arsenal. Take in to account the tips laid out in this blog. Plan your shoots, get the most amount out of the golden hour as you can, position your subject to create amazing glowing light and remember to adjust your settings as you go. Golden hour can be an amazing way to get beautiful well-lit images, especially in portrait photography. Photography is all about trial and error, try new things and don’t be afraid to fail miserably. Golden hour is a great way to shoot but is not the only way of achieving perfect composition, find what works for you and always be changing!