Lightroom Presets, Lightroom Tutorial
How to Batch Edit Photos in Lightroom

Sep
What is batch editing?
[sc_fs_faq sc_id=”fs_faqms2pp0oeu” html=”false” headline=”h2″ img=”” question=”What is Batch Editing?” img_alt=”” css_class=”” ]If you’ve ever gone to shoot and come home with hundreds or even thousands of images to edit, it can seem like a very overwhelming task. Going through each of those images individually could take days! Thankfully, Lightroom CC has a feature that allows you to edit batches of photos at once, saving you hours of editing time![/sc_fs_faq]If you’ve ever gone to shoot and come home with hundreds or even thousands of images to edit, it can seem like a very overwhelming task. Going through each of those images individually could take days! Thankfully, Lightroom CC has a feature that allows you to edit batches of photos at once, saving you hours of editing time!
Below we have tutorials for four popular techniques you can use to batch edit your photos in Lightroom!
Technique #1: Applying Presets on Import
There is a reason Lightroom presets are so popular! They allow you to apply frequently used edits to your photos instantly, rather than having to manually adjust all the settings every time, for each image. If all of your photos are similar or were taken in similar lighting conditions, you may want to just apply the same preset to every photo. For example, maybe you did a shoot for an event, and noticed that all the photos are slightly underexposed, or the colours were a little bit muted. In this case, it would make sense and be very efficient for you to apply a preset during import to correct this issue in every photo at once. Follow the steps below to apply a preset to a batch of images during import.
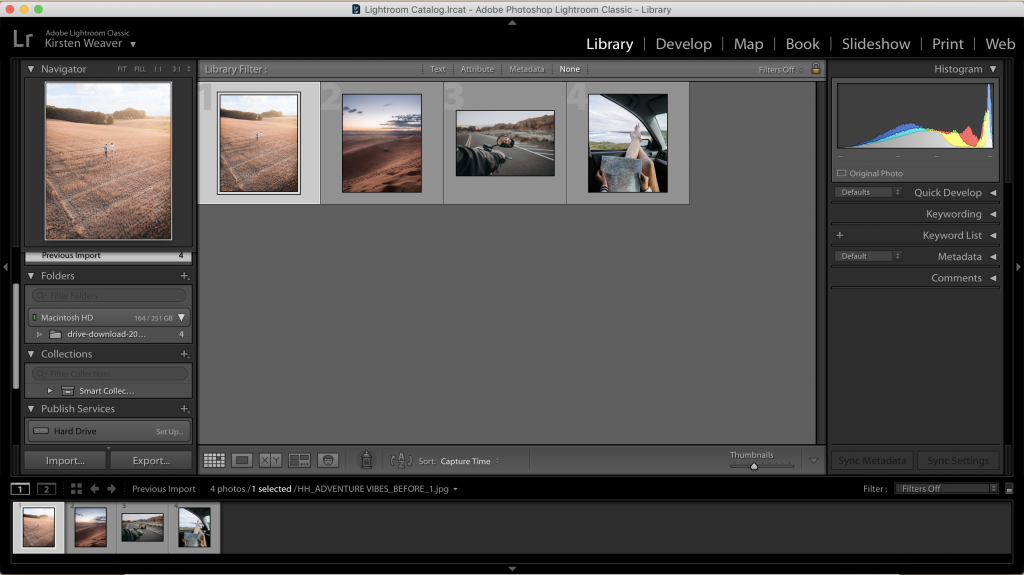
Step 1: Start an import in the Library module.
Step 2: In the import dialog, you will see the “Apply During Import” module.

Step 3: From here, select your desired preset, and then click import to have it automatically applied to each of the photos as they are imported into Lightroom.

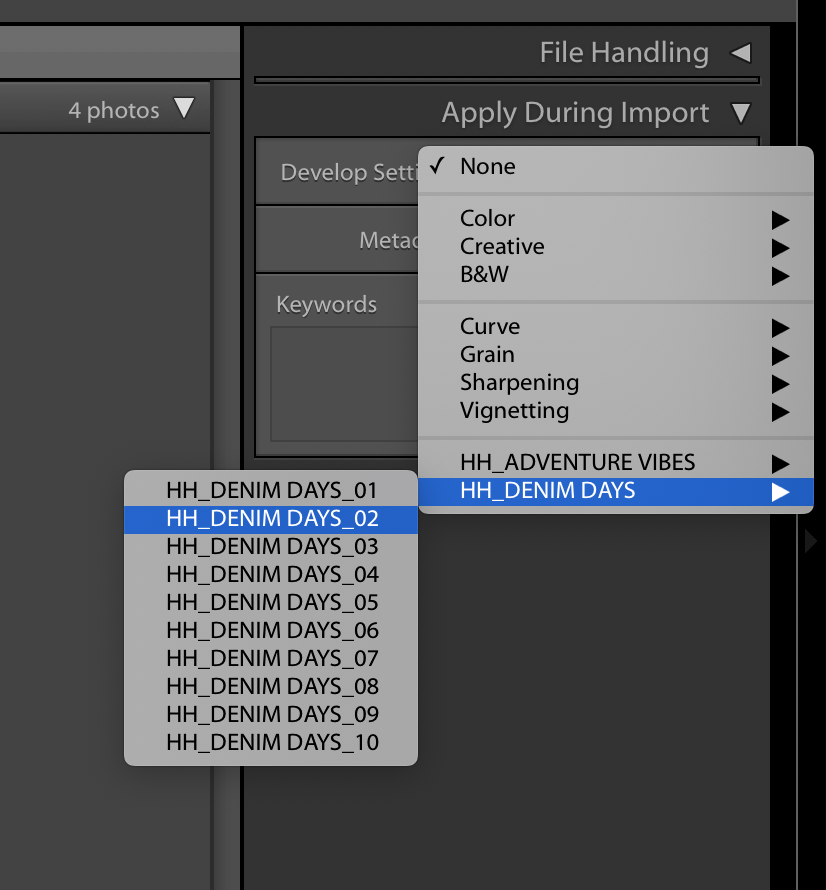
Keep in mind that you won’t be able to preview how the preset looks on the photos, so you should be sure it will work before you apply it to all of them! You also won’t be able to undo the application of the preset once the photos have been imported. If you don’t like the way the preset looks, you will have to either correct every image or delete them from the Lightroom Catalog and start again.
This saves you from having to apply each one individually later on, and applying the presets this way also applies them faster than selecting them individually in the develop module later on in your editing process!
See Also:
How To Remove Noise And Grain In Lightroom
How to Use Lightroom Brushes
How to Cull Photos in Lightroom
Technique #2: Apply Presets in the Library Module
Applying presets to the photos during import works well if all of the photos are similar, but you may want to use different presets if the photos you are importing feature different scenes, poses, light conditions, etc. This is a great trick for weddings or other shoots where you may be switching between inside and outside or have changing lighting conditions that require different edits. In this case, it may be better to apply your presets in the Library module, where you can select sets of photos from the group you just imported and apply different presets to different sets.
This technique is also helpful if you have already imported your photos! To apply presets to groups of photos in the Library module, follow the steps below!
Step 1: Before selecting your photos, be sure to go to the Library Grid mode, or else this won’t work!
Step 2: Click the first image in the set you want to apply the preset to, then hold down Control/Command and select any other images you want to apply the preset to.

Step 3: In the Quick Develop panel, click the “Saved Preset” dropdown menu and select the preset you want to use. This will apply the settings to all the photos you have selected.


Step 4: Repeat for each set of photos as needed!
Technique #3: Edit in the Library Module
The Library module is much smoother and faster than the Develop module when it comes to processing changes. Since you have already applied presets to your images, you just have to make broad adjustments to your photos, which can be done in the Library module. This module lets to make adjustments to the white balance, exposure, contrast, and more, and you can apply these changes to multiple photos at the same time. This makes your photos look much more consistent and saves you tons of time!
Follow the steps below to learn how to batch edit your photos in the Library module:
Step 1: Select a group of images in the Library module. (Multi-select images the same way you did when applying the presets in the Library module: click the first photo, then hold Control/Command and click on each subsequent photo until they are all selected.)
Step 2: In the Quick Develop panel, click the arrows under Exposure, Contrast, etc. to expand the panel and make any adjustments you need to. This will apply the changes to every photo you have selected!
Step 3: While editing you can use the + and – keys to minimize or enlarge the library views so you can have a better view of the adjustments you are applying.
Technique #4: Sync Adjustments Across Multiple Photos in the Develop Module
After you’ve applied the presets and broad adjustments, you may need to adjust a few smaller details. These changes will need to be made in the Develop module, but can still be done in batches so you don’t have to do it one image at a time!
Step 1: In the Develop module, apply the adjustment to the first photo.
Step 2: In the Develop film strip or Library grid view, select multiple photos (Control/Command + Click).
Step 3: Select “Sync”, which can be found at the bottom of the right hand panel.

Step 4: Select which options you want to sync to the selected photos, which are most likely the adjustments you just made in the Develop module!

With these techniques in hand, you will be able to drastically reduce the amount of time it takes you to get through a batch of photos that need editing! In addition to saving you time, editing your photos in batches will also keep them looking more consistent, since they all have the exact same settings applied to them. Batch editing is a must-have skill that every photographer should have!