Uncategorized
Highlights vs Whites Sliders in Lightroom: What is the difference?
At first glance, the Highlights and Whites sliders in Lightroom seem like they are basically the same. Both sliders affect the lighter tones in an image, so how do you know which one you should be using? Are they really that different?
The answer is: YES! The Highlights and Whites sliders in Lightroom actually do very different things. It may be hard to tell at first, but once you understand the differences between these sliders and know how to use them, it will take your photos to the next level.
Whites Slider

The Whites slider changes the overall brightness of an image, and also adjusts the white point. Having a true white point – a pure white – in your image gives it a strong pop and ensures that you have maximized the dynamic range of your image.
A good time to use the Whites slider is if your photo has been underexposed in-camera. By adjusting this slider, you can set a proper white point and create the right tonal range within your photo. You do have to be careful when adjusting your Whites slider, though, because it can mess up the tones in your image.
In the photo below, the Whites have been turned up to +100. As you can see, the all detail is lost in the brightest areas of the image!

The best way to make sure you are not messing up the tones in your image is to use the Histogram. The Histogram will show you exactly how the tones are distributed in your image, so you know where they need to be adjusted.
It is generally best to use the Whites slider to set your white point before making adjustments with the Highlights slider. Once you have set that white point, the Highlights slider will help you further refine your image.
Highlights Slider
The Highlights slider is designed to bring back detail in the brightest areas of an image (by moving the slider to the left) or to brighten highlights (by moving the slider to the right), while protecting against clipping.
The main difference between the Highlights slider and the Whites slider is that the Highlights slider will never change the white point in an image. Only the Whites slider can do that! Highlights control a much slimmer range of tones than the Whites slider does. Because this slider cannot change the white point in an image, it will change the brightest parts in an image where some degree of detail can still be found, but it will not go past the white point that was previously set. Even if you push the Highlights slider all the way to +100, it will not be a washout, because it will not go past your white point.
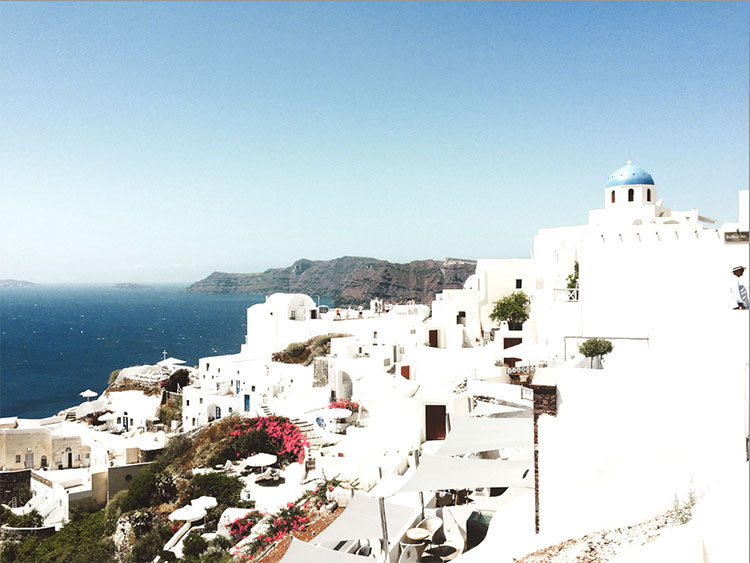
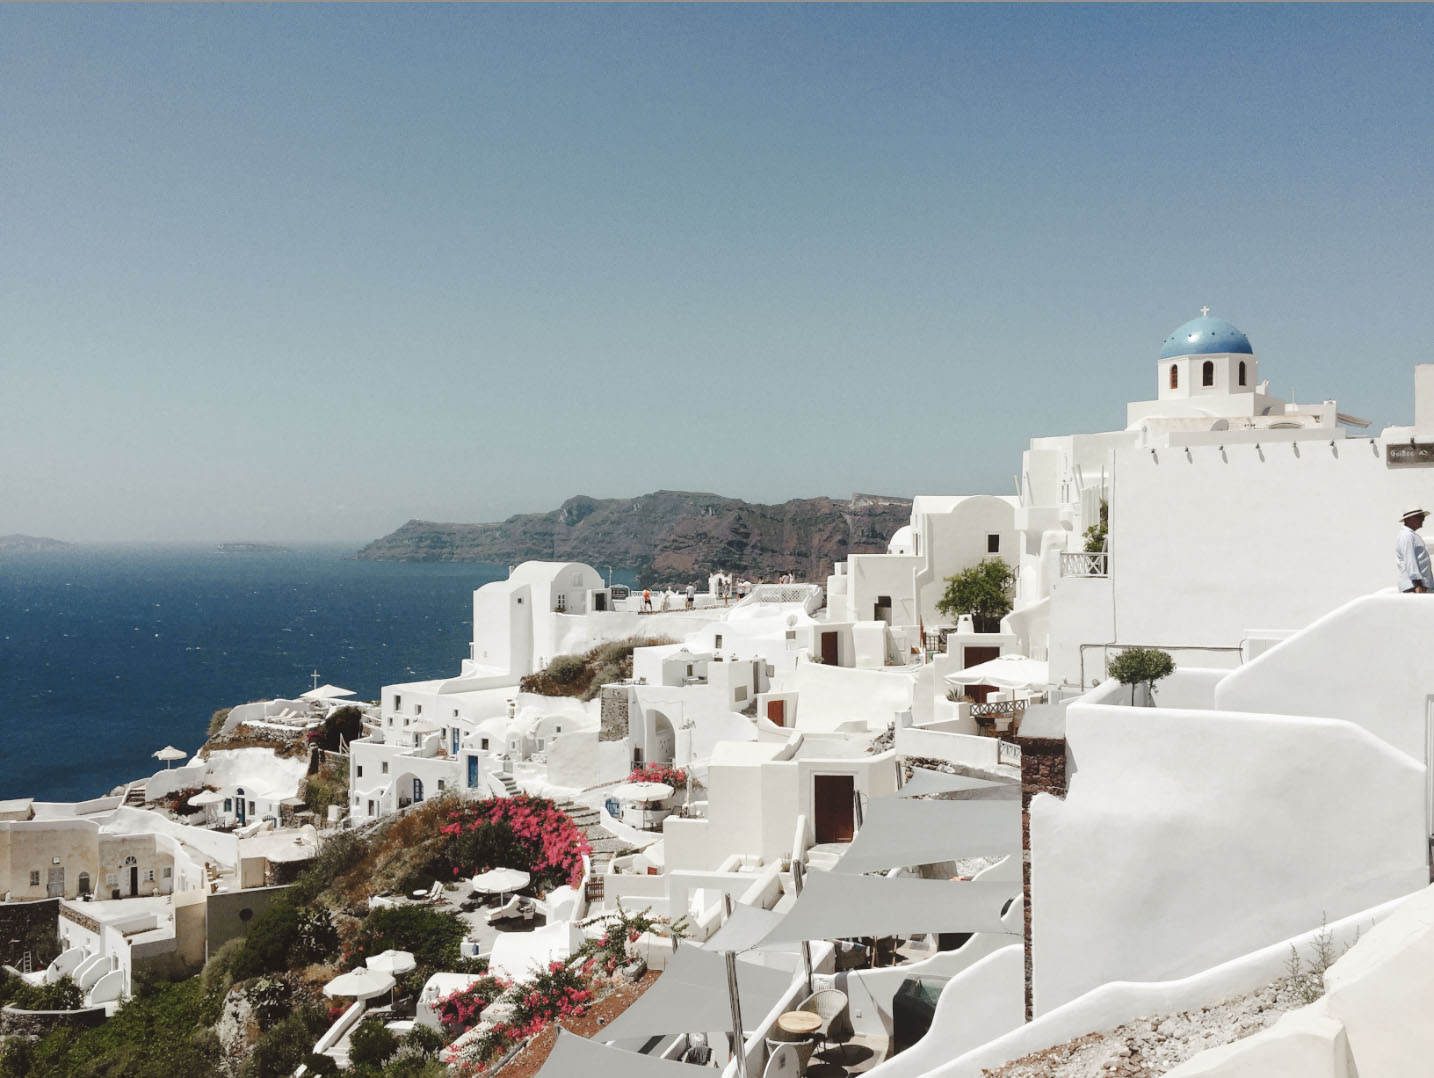
Compare the two photos below. The first one is the original photo, and the second one has the Highlights slider cranked to +100. You can see, that despite the slider being pushed all the way to the right, and the photo becoming brighter, detail has not been totally lost in the brightest areas of the image. This is because the Highlights slider will not push past the white point set by the Whites slider!


With this in mind, the Highlights slider becomes a tool that you can use to decide the degree to which you highlight any detail in the image. The true purpose of the slider is to recover list detail in the brightest area of an image or to brighten the whole image without risking pushing the exposure past the white point and blowing out the image.
