Blog, Digital Manipulation, Digital Photo Editing, golden hour, golden hour photography, Lightroom Tutorial, Mirrorless Photography, Phone Photography, Photography, Photography Tutorial, Photoshop Tutorial
5 Tips On How To Photograph Natural Light

Apr
Understanding how to use natural light as a photographer is a crucial skill to master. Natural light is the most inexpensive means of achieving perfect lighting. The sun is something that can be used by anyone as an accessible means of lighting. It is important to understand how to use and manipulate this source of lighting to work for you and your photography. Five key concepts to understand are: choosing the best light, positioning your model for mood and exposure, altering the intensity of natural light, changing the quality of natural light, and changing the colour of natural light to work for the style of photography you are looking for to achieve.
1. Finding The Best Light
There is not much you can do to alter the sun and its power as you would for an artificial lighting setup. Although you can use time, weather, and nature to your advantage to find the best lighting. The properties of the sun cannot be changed by any human being but you can utilize the time and day. Keep an eye out on the weather, shooting during a clear, sunny day is not ideal as the sun can be very harsh. You will find it is harder to avoid lens flare and it will create a very cool temperature for your photograph which is not always the best for illuminating skin tone.
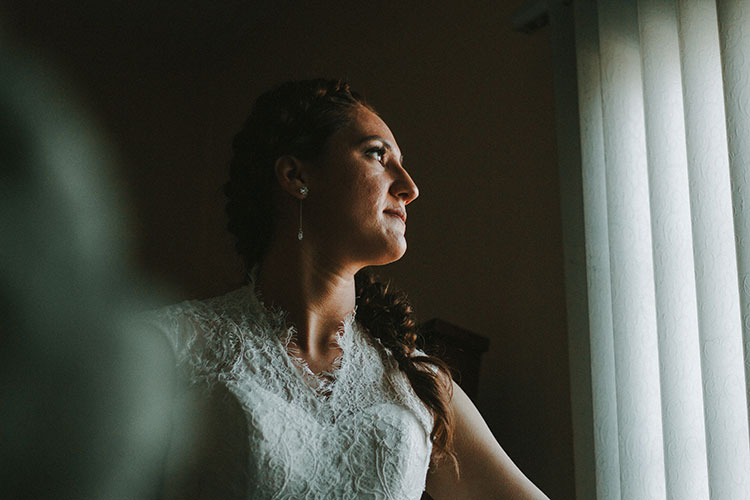
Shooting during a cloudy day is optimal as it will create a think layer of clouds to cover the sun and allow for even soft light to shine down on to your subject. One way of creating this soft light is by looking for a shady area in which to shoot, such as somewhere that is covered in trees, which can also create an interesting texture in your photograph. The best time of day to shoot is and always will be the golden hour. This is the time right after the sun rises and right before the sun sets. The golden hour provides an even, warm light that is not harsh on the skin or in your eyes creating that squinting look.

2. Positioning Your Model in Natural Light
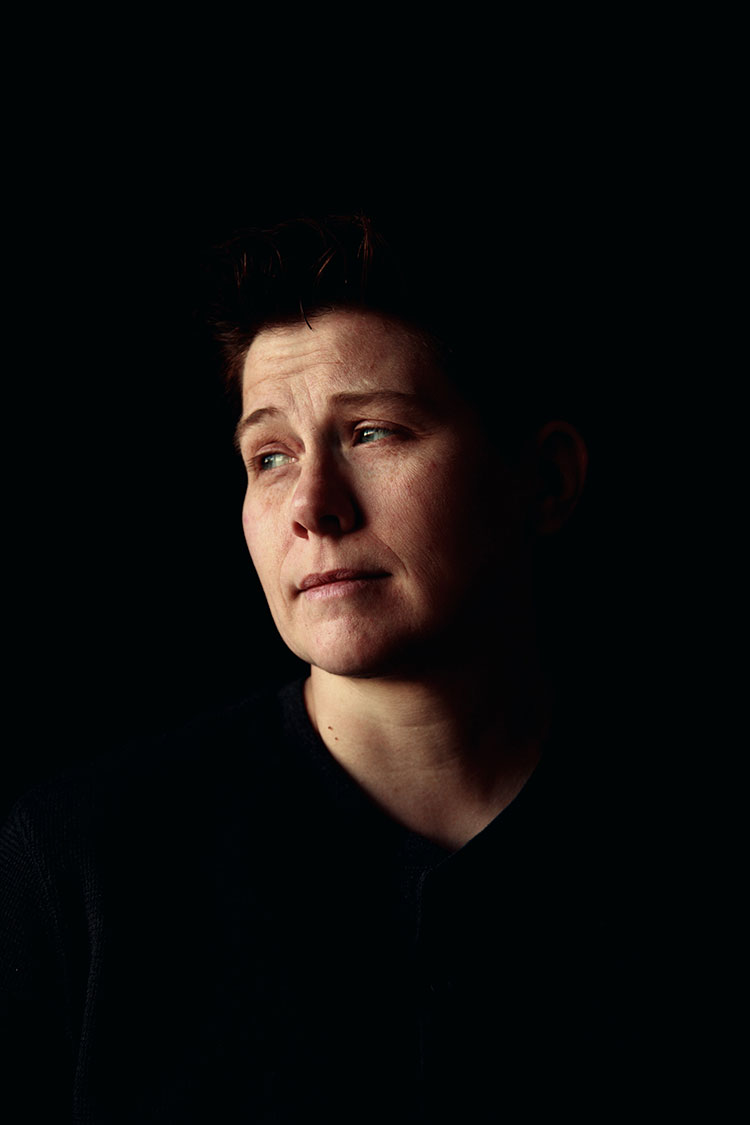
Shooting with natural light is all about manipulating what is possible for you. Obviously you cannot change how bright the sun shines but you can position your subject to make it work. The nice thing about using this technique is that you can create an array of different moods just by repositioning your subject. For example, shooting your subject with the sun coming from a side angle will create a dim mood having half of your subjects lit up while the rest is covered by shadows. You can also create a silhouette but having the subject positioned with the harsh sun coming from behind them. It is all dependent on which style you are looking to achieve so play around with this and have fun!
3. How To Direct Natural Light
Reflection and refraction is a very important way of manipulating natural light to bend to your will. Reflectors are amazing ways to redirect lighting to offer filler for different photographs. A reflector can come in many different styles, shapes, and colours. The best reflector to use to redirect light is the basic silver reflector. You can use any shape that fits your needs, so do some research to find out which one will be best for you and your style of photography. When using a reflector, t is best to have an assistant with you that can hold the reflector at an angle so that the light from the sun bounces off and fills in shadows that can be cast by harsh lighting. If you do not have an assistant you may also even have the model hold the reflector and shoot in at a tighter angle as to not show the reflector being held. This is another skill that comes through time as finding the best angle for light to bounce is a changing element in every situation. There are many affordable options for reflectors available on Amazon.

4. Changing Quality of Natural Light
Natural lighting can sometimes be very harsh for a subject and cause them to squint. Reflectors typically come in a three-piece set. The first being the typical silver reflector which you can use to reflect light from the sun off the surface and back toward your subject. The second piece is a thin white fabric which is referred to as the “diffuser”. The diffuser is used to diffuse harsh light into soft light. This thin white fabric blocks out the light only allowing a balanced soft light through. These diffusers can be extremely helpful in portrait photography. You can use this diffuser to block harsh light making your subject glow evenly. White is the best as it will not create an unwanted colouring on your subject. A perfect substitute to use is a thin white curtain.
5. Changing The Color of Natural Light
The final layer of the three-piece reflector set is a gold reflector. The golden reflector is an amazing source to bring in a warm temperature. As mentioned earlier mid-day sun can produce a harsh and cold light. When shooting portrait photography it is best to give your subject a warm glow. The warm temperature will not only make a person’s skin tone shine. The warm temperature will also hide some imperfections that most people may not want to be highlighted. Warm temperature is also a lot easier to manipulate in post-production.

The best way to achieve full natural light capabilities is by trying different techniques and making them work for you. Stay on top of how the weather effects changes in lighting. Do not be afraid to try and fail, photography is about the unpredictable.