Photography, Photography Tutorial
5 Lighting Tips for Better Photos
Aug
Photography is all about playing with light and shadows! The way your subject is illuminated can make or break your photo. Lighting is one of the most important elements of your photo, so it is crucial that you understand how to set up your photo properly and use light to your advantage!
With the tips below, you can be sure your photos are properly lit and take your sessions to the next level!
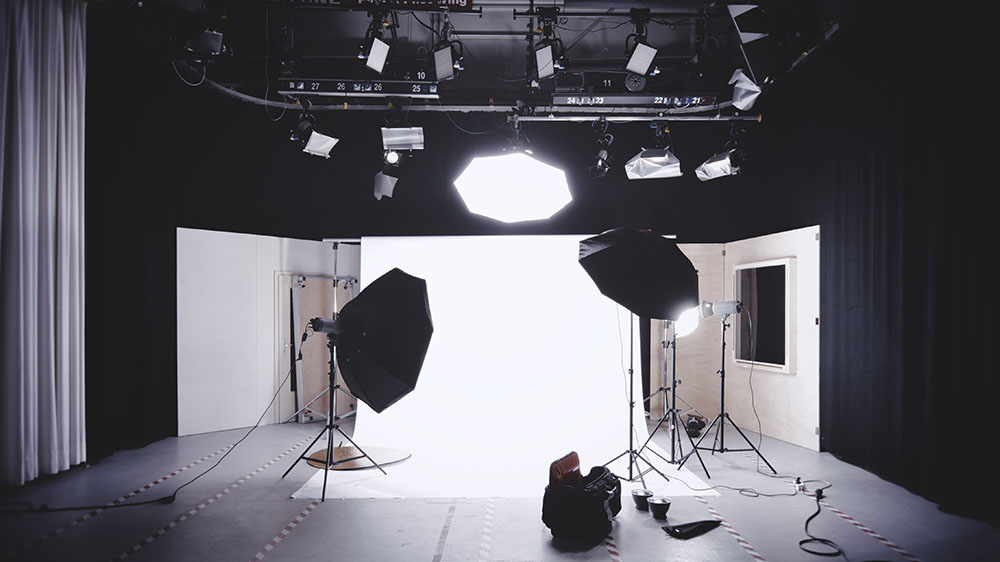
1. Use a broad light source.
A broad light source is going to give you the most flattering lighting for your photo. This is because broader light sources cast softer light, resulting in fewer shadows, reduce contrast, and suppress texture. With broad light sources, rays hit your subject from more directions, which helps to fill in shadows and give more even illumination to your scene.
Narrow light sources do the opposite. Lighting accessories such as flashes and CFLs are examples of narrow light sources that can cast unflattering shadows and uneven lighting on your subjects.

2. Remember that light has colour even when it looks white!
While our eyes are good at adjusting our perception so that we don’t notice different colour temperatures, digital sensors and film may record colour casts that our eyes may not see.
For example, in the early morning and late afternoon, the sunlight has a warm, golden tone, while the lighting at midday can have a blueish tint. In addition, any wall or surface that light bounces off of can add colour cast to your shot.
If you are using a digital camera, you can use the white-balance control to neutralize colour casts, or to emphasize them, depending what your end goal is. White balance can also be adjusted in post-processing, just make sure to always shoot in RAW so there is enough information in the image to be able to edit it!

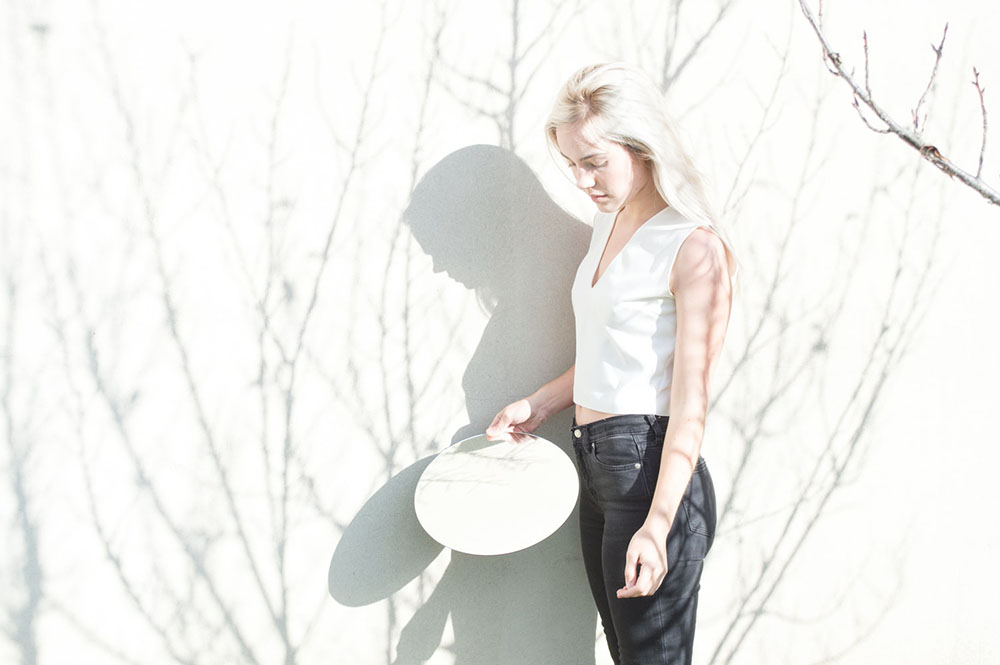
3. Include shadows for a three-dimensional look.
While you obviously don’t want unflattering shadows falling across or blocking your subject’s face in a portrait, shadows can add to a photo if used wisely. Strategic use of shadows can help to add depth to your photos and project your subject in space, rather than having them appear as those they are on a flat surface.
Experiment with different angles and shadows and see what creative shots you can come up with!
4. Light positioning is important.
Equally as important as the type of light source is its position. The position of the light is going to control how much texture is in revealed in the image and, of course, where any shadows fall on the subject.
For example, if you are shooting a portrait, you may want the light to be more directly in front of the subject to de-emphasize the texture of the person’s skin. If you are taking a photo of a dog, you can position the light to the side to emphasize the texture of the dog’s fluffy fur. Generally, the greater the angle at which the light source is positioned in relation to the subject, the more texture is revealed.

5. Check all angles.
There are tons of tricks you can use to find the best lighting, but one of the simplest is going to be experimenting with different angles. Try out a bunch of different angles to find the ones that allow your camera to capture the light the best, and take your time to make sure you don’t miss the perfect lighting.
Eventually, you will know exactly where to go to get the best angle, and you will be able to go much faster. While you are still learning, though, take your time and try out different angles until you find the best one.
Lighting really will make or break your photo, so you have to understand how to harness it properly and use it in your photo. Take these tips and start practicing, and soon every one of your photos will have amazing lighting!